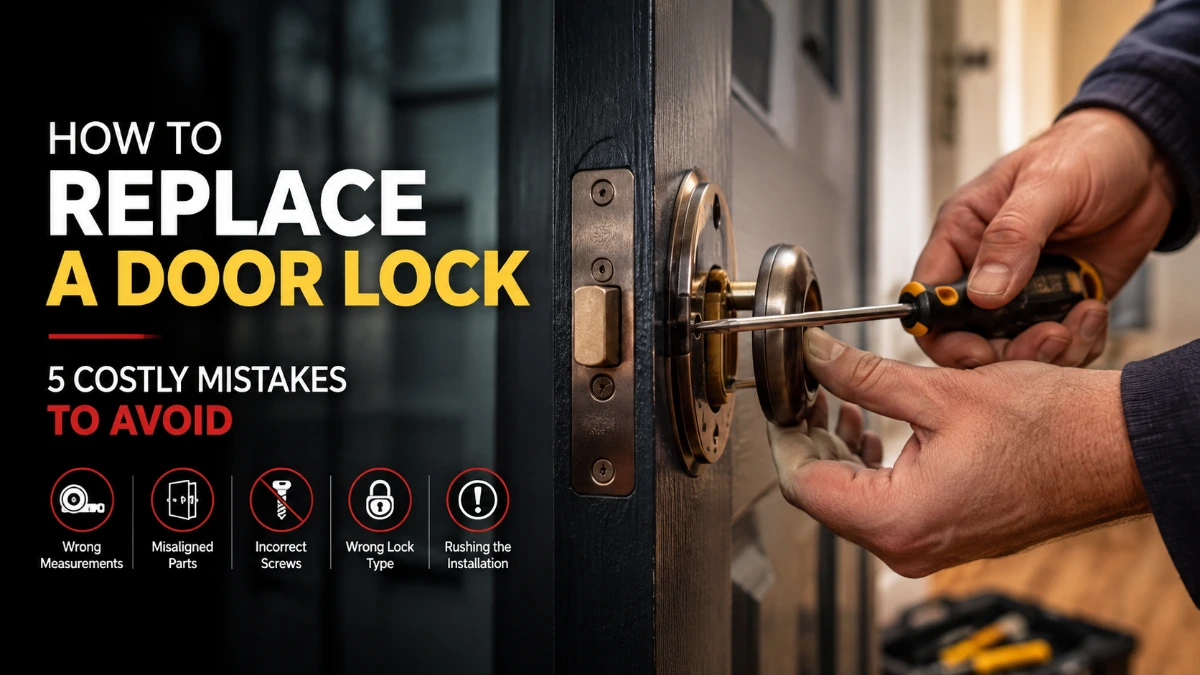
How to Replace a Door Lock: Choosing the Right Steps for Your Hardware
Before touching a screwdriver, the first real decision in how to replace a door lock is identifying which of the four hardware types you’re dealing with, since a knob, a lever, a deadbolt, and a mortise lock each come apart and go back together differently. Once that’s settled, the job itself is usually a 20-to-40-minute task that only needs a screwdriver, as long as the replacement matches your door’s existing backset and bore hole size.
Identify Your Lock Type First
Doorknobs and lever handles share the same basic bore-hole mounting and spindle mechanism, differing mainly in the handle shape rather than the installation process. Deadbolts use a similar bore-hole approach but add a separate tailpiece that connects to an interior thumb-turn, which is the one component that doesn’t exist on a standard knob or lever.
Mortise locks are the outlier: instead of fitting into a round bore hole, the entire lock body sits inside a rectangular pocket cut into the door’s edge, which makes them more common on older or higher-end doors and noticeably more involved to swap out.
Gather Tools and Take Two Measurements
A Phillips and flathead screwdriver, a tape measure, a pencil, and a chisel (for strike plate adjustments) cover nearly every job. Most residential hardware — regardless of type — is designed to assemble without specialty tools once the door itself is already prepped with the right holes.
The two measurements that matter are backset and bore diameter. Most U.S. residential doors use a 2-3/8 inch or 2-3/4 inch backset, and most current locksets include an adjustable latch that fits both sizes, which is why modern hardware is more forgiving than older fixed-backset designs. Bore holes are commonly around 2-1/8 inches for standard knobs and deadbolts; if your new lock’s specs don’t match either measurement, a hole saw and door-prep kit become necessary rather than a straight swap.
Removing the Old Lock
- Remove the two screws on the interior side of the knob, lever, or deadbolt plate.
- Separate the interior and exterior halves — older units sometimes need a small release tab or clip pressed first.
- Unscrew the latch or bolt’s faceplate on the door edge and slide the mechanism out.
- Remove the strike plate from the frame if it’s being swapped too.
For a mortise lock, this sequence doesn’t apply directly. The interior and exterior trim plates need to come off first, after which the entire lock body slides out of its door-edge pocket as a single unit — a slower process than the bore-hole types above, but not fundamentally more difficult.
Installing the New Lock
Slide the new latch or bolt into the existing bore hole and secure the faceplate, checking that the latch’s beveled edge faces the direction the door swings shut. Connect the two halves through the spindle or connecting screws and tighten evenly, since uneven tightening pulls the mechanism crooked and causes sticking later.
Deadbolts need one extra step here: aligning the tailpiece with the interior thumb-turn before the plate is fully secured. This is the part of the process where a misaligned tailpiece most often shows up later as a bolt that won’t fully retract, and it’s specific to deadbolts — knobs and levers skip this entirely.
Fixing Strike Plate Problems
The strike plate on the door frame has to line up with the latch or bolt when the door closes, and this alignment — more than any other single factor — determines whether the finished install feels solid. A small shift of the plate, or deepening the mortise pocket behind it slightly with a chisel, resolves most fitting issues on doors that have settled over time.
What to Do When Something Doesn’t Work
| Symptom | Likely Cause | Fix |
| Door won’t latch | Strike plate misaligned | Loosen screws, shift plate slightly, retest |
| Deadbolt feels stiff or won’t retract | Tailpiece misaligned with thumb-turn | Reopen interior plate, reseat tailpiece |
| Bolt doesn’t reach frame fully | Strike plate mortise too shallow | Deepen mortise slightly with a chisel |
| Screws won’t tighten (stripped) | Worn or oversized screw holes | Use longer screws, or fill and redrill pilot holes |
Working through this table before assuming a lock is defective solves the majority of post-install complaints, since the hardware itself is rarely at fault.
Does the Lock Need Replacing, or Just Rekeying?
If the existing lock still operates smoothly and only the keys need to be changed, rekeying is quicker and cheaper than a full swap. Standard pin-tumbler cylinders generally need a locksmith or a dedicated rekey kit, while some newer designs — SmartKey-style mechanisms, for example — are built for tool-free rekeying by the owner.
Even so, knowing how to replace a door lock remains useful, because a worn spring, cracked cylinder, or bent tailpiece can’t be resolved through rekeying no matter how new the keys are.
Knob, Lever, Deadbolt, or Mortise: Complexity at a Glance
| Lock Type | Installation Complexity | Distinguishing Step |
| Doorknob | Low | Spindle alignment through the bore hole |
| Lever handle | Low | Same as knob; heavier mechanism, even screw torque matters more |
| Deadbolt | Medium | Tailpiece-to-thumb-turn alignment |
| Mortise lock | High | Entire lock body removed/installed as one unit from a door-edge pocket |
When DIY Isn’t the Right Call
Stripped screws that won’t budge, a lock frozen by corrosion, or commercial security-rated hardware all raise the risk of damaging the door beyond an easy fix if DIY work continues. Fire-rated doors in multi-unit buildings deserve the same caution, since code requirements around approved hardware often apply.
Smart locks sit outside this entire guide’s scope, since they introduce battery compartments, app-pairing electronics, and sometimes hub or doorbell wiring that a standard mechanical swap doesn’t involve — manufacturer instructions, not general DIY steps, should govern that installation.
Frequently Asked Questions
Most single-lock jobs — knob, lever, or deadbolt — take 20 to 40 minutes once the backset and bore diameter are confirmed to match, with no drilling needed.
Only if the new lock’s backset or bore diameter doesn’t match the existing holes; most current locksets include adjustable latches specifically to prevent this.
Yes — they’re independent mechanisms with separate boreholes, so either can be swapped without affecting the other.
Rekeying changes the internal pins so old keys stop working; replacing swaps the entire lock body, which is necessary if the mechanism itself is damaged.
Almost always a strike plate alignment problem — even a small gap between the plate and the latch or bolt can prevent smooth closing.
Yes, it’s the most involved of the four types covered here, since the entire lock body comes out of a door-edge pocket rather than a simple bore hole.
A screwdriver handles most installs; a chisel is only needed for strike plate adjustments, and a hole saw is only needed if bore sizes don’t match.
No — smart locks require manufacturer-specific instructions because of their electronic components, which fall outside standard mechanical lock replacement.